Along the Grapevine


14 Comments

Chimichurri and Goutweed

DSC02188

I hesitate to put the word ‘goutweed’ in the title of a recipe, but there’s no way around it. That’s what it’s called, and to give it a more appetizing name might just confuse everyone. So here it is, Goutweed chimichurri.

First, I should explain what goutweed (aegopodium podagraria) is, although most gardeners in this area are very familiar with it – even if not by name. Although for most considered an invasive weed, It is a plant still sold at nurseries for landscaping, especially the variegated ones which really are pretty used as a border or ground cover. But be careful because once planted it can NEVER be eradicated, and just keeps spreading and crowding out anything around it.

I happen to have inherited some in my garden, so I make the most of it, and still pull out as much as I can. At this time of year I am busy digging up bushels of weeds, so I was pleased to find that goutweed leaves and stems are edible, especially when young and tender and always before it flowers. Where it has been cut back, I get a steady supply of new growth which can be picked right into the fall. It has many medicinal uses, including traditionally the treatment of gout and arthritis, but has been used in Europe as a salad ingredient and pot herb. It has become naturalised throughout most of North America as well as Japan and New Zealand.

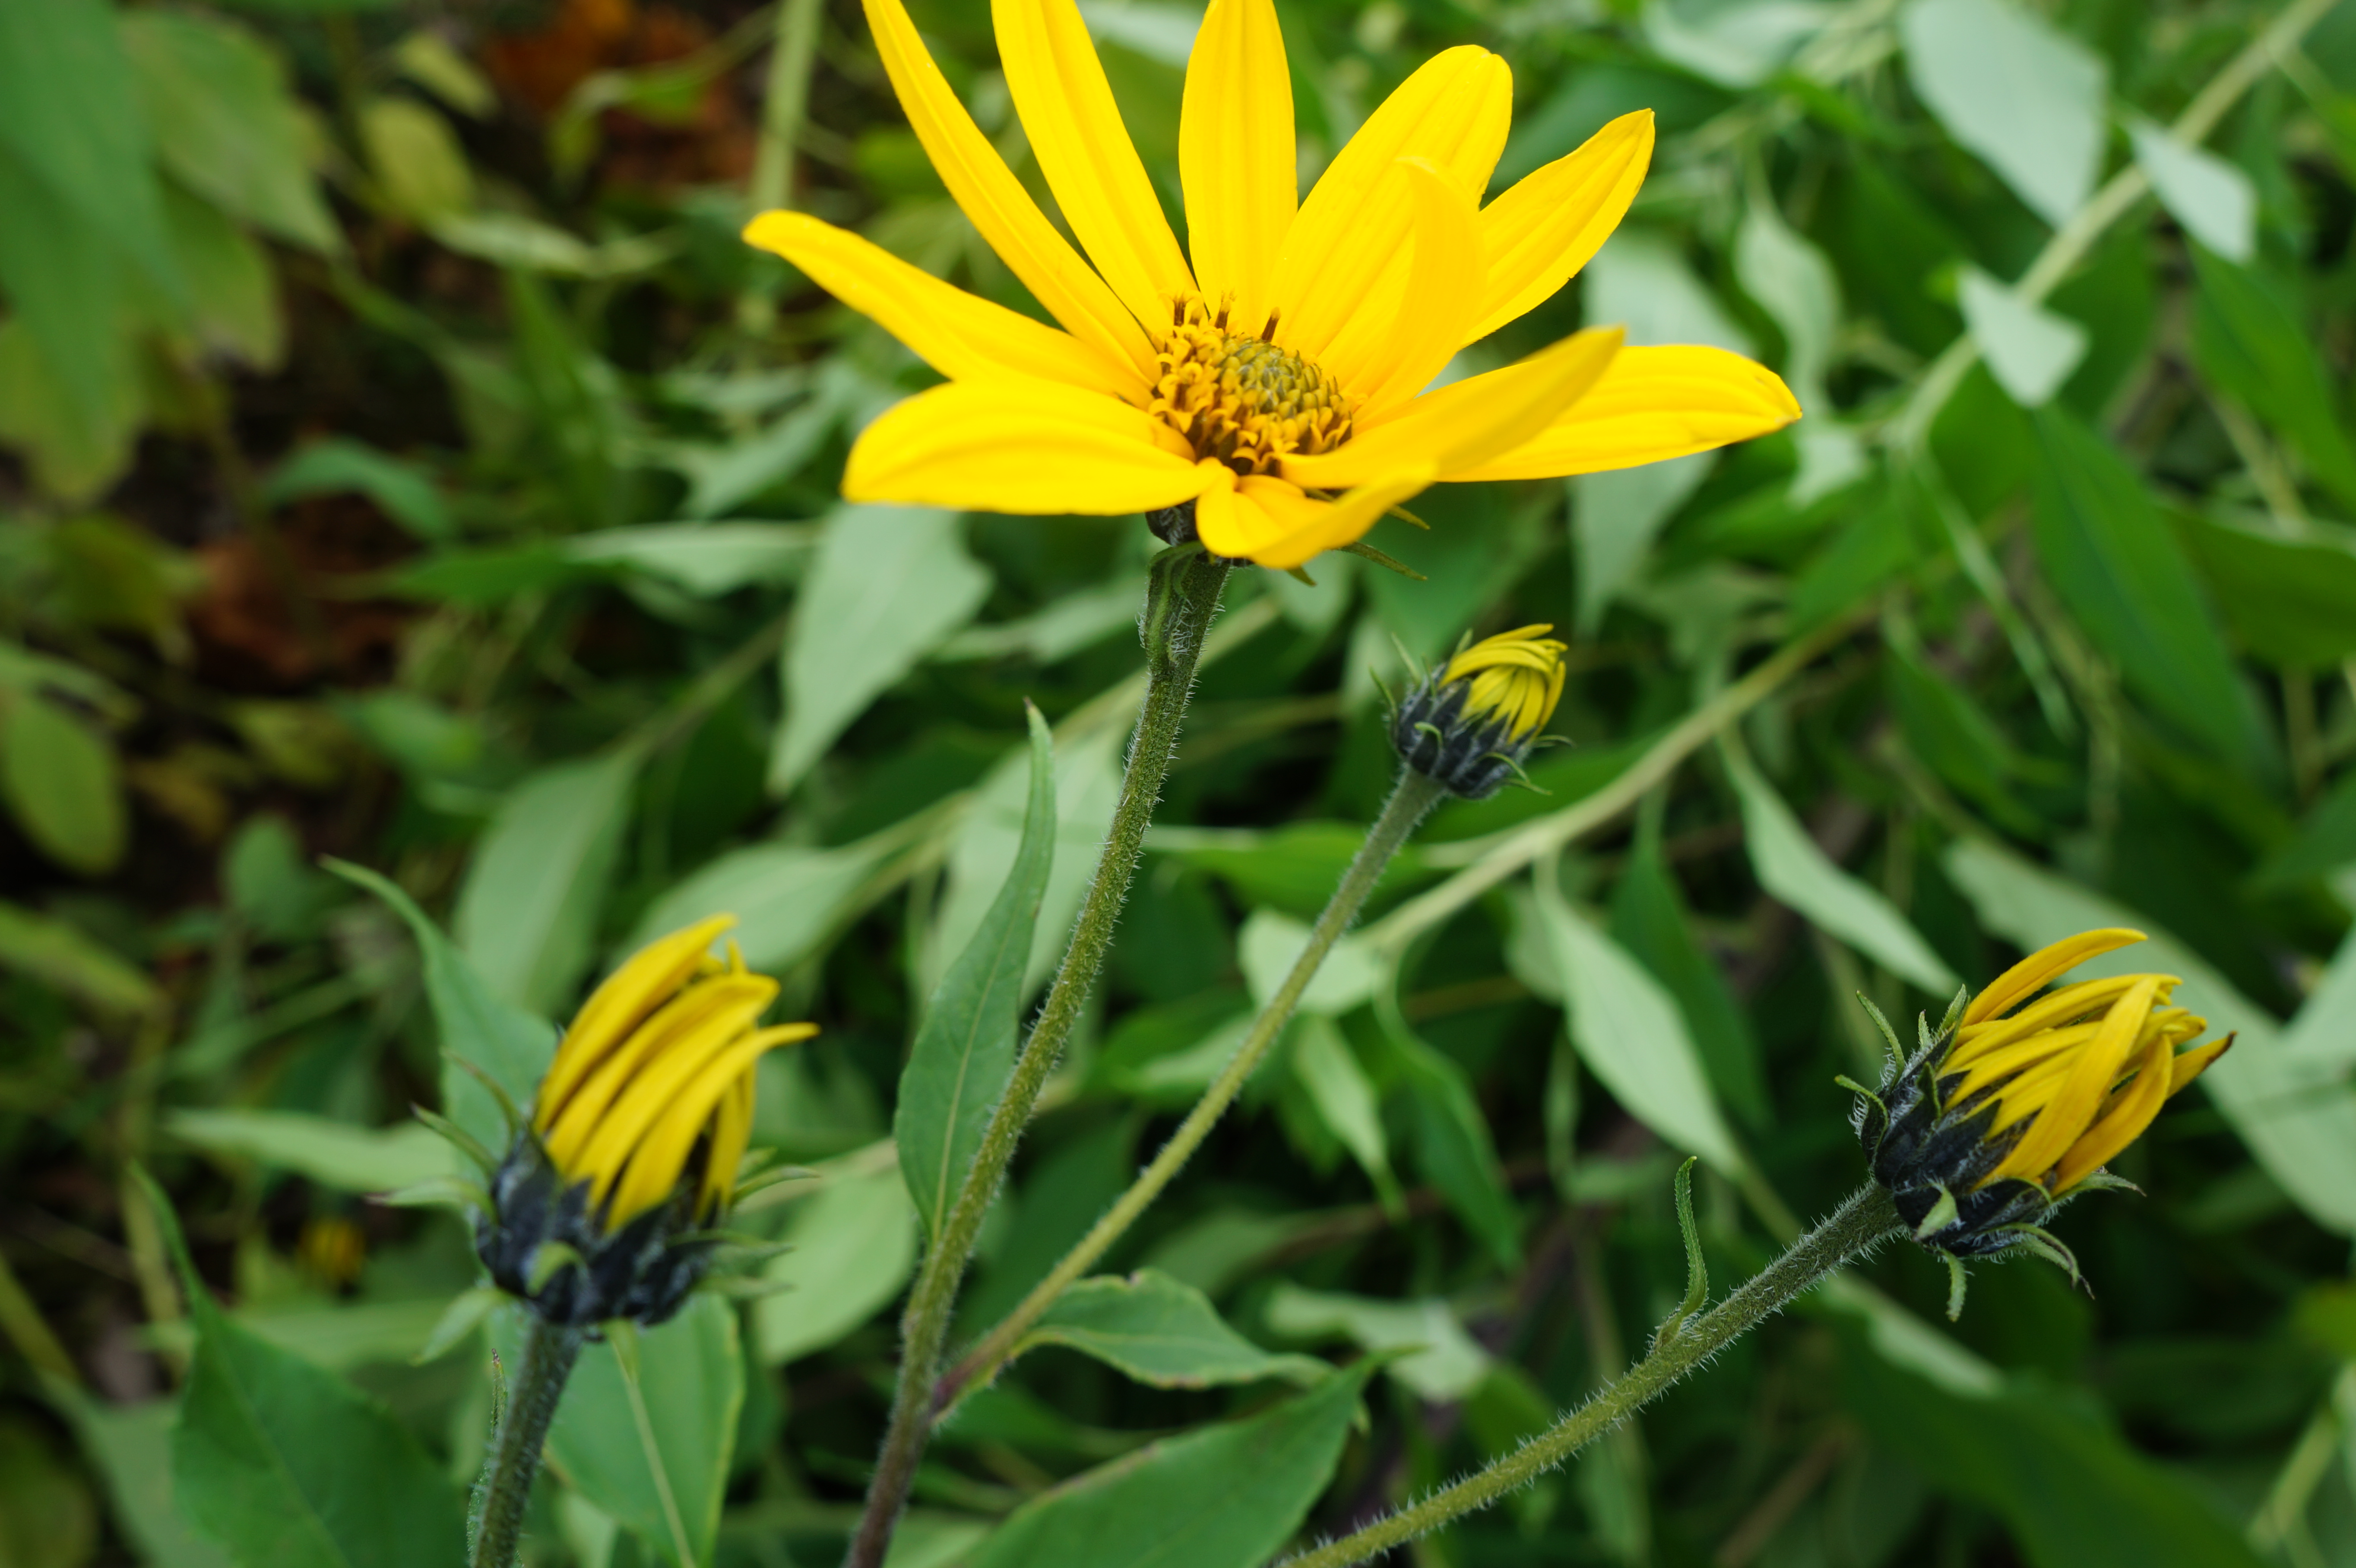
The variegated leafed plants are easiest to identify with their creamy white and pale green patterns. When allowed to spread uncontrollably, they will revert to a solid, darker green. The leaves grow in groups of three, and have pointed, serrated leaves. The veins on the leaves extend right to the end of the leaf, unlike the poison hemlocks of the same family (apeaceae) whose veins end between the teeth of the plant. The flowers which appear in mid-summer are small five-petalled flowers on tall stems. Another characteristic of this plant is that they grow from rhizomes – not edible.

DSC02208

While the young leaves are good raw, tasting to me something like a cross between parsley and carrot with a hint of celery, the older leaves are good cooked in soups and vegetable mixtures. I decided to use it as a substitute for parsley in a chimichurri which I learned to make years ago when I lived in Argentina. Since that time, this simple condiment has made it around the world and undergone many changes. I wanted to make something as close as possible to what I remember having way back when but without the parsley.

DSC02216

Goutweed Chimichurri 

1 cup young goutweed leaves and stems

1/2 cup fresh oregano

2 large cloves of garlic

1/4 cup vinegar (cider or white wine)

1/2 tsp salt

1/2 cup olive oil

If using a food processor, simply blend all together. Otherwise, chop the greens and the garlic very fine and stir in the vinegar, salt and oil.

Serve as an accompaniment to grilled meat and/or vegetables, or as a spread on crackers or toast.

DSC02544

Chimichurri and Goutweed on Punk Domestics

Linked to Fiesta Friday #88.


15 Comments

Goldenrod Tea

DSC02451

This beautiful and, yes, edible goldenrod (soldiago) is in full bloom just now and has transformed our local landscape into a mass of golden colour. Unfortunately it is often confused with another plant which is also plentiful just now – ragweed. You can see from these two photographs the differences in the plants. Both are in bloom. One is bright, the other relatively colourless. Also, the leaves on the first are elongated ovals while the second has lobed leaves.

DSC02510

Ragweed is the source of much discomfort for people who are allergic to its pollen. Because the two plants occur in the same places at the same time, goldenrod is assumed to be equally noxious. It is not. The difference between the two, other than their appearance, is that ragweed has a light and abundant pollen which is easily carried through the air. Goldenrod, which has a heavy and sticky pollen, is pollenated by insects. So if you suffer from hay fever at this time of year, you know which one to blame it on. My advice is to eradicate as much of the ragweed as you can.

Not only is goldenrod not a noxious weed, it has many health benefits, one of which according to much of the literature I have been reading (for example this article) is its ability to counter the effects of allergies.

Once identified, goldenrod is easy to harvest. No worries about over harvesting this robust perennial, and the blooming period is relatively long in this area – from late August until the first frosts. Pick only the top third of the plant, and preferably young flowers which have not fully opened or are still bright yellow. Leaves and flowers can both be used. Just watch for insects – the pollinators love the stuff.

DSC02454

When I first try a new plant, I always prefer a simple recipe to test the flavour, so here is yet another herbal tea. Begin by shaking any small insects out of the flowers and rinse lightly under the tap. To make, remove leaves and flowers from the stems. For each half cup of these, add two cups of boiling water and allow to steep for 20 minutes. Strain and serve.

DSC02459

The flavour is substantial, slightly bitter and a bit smokey. I advise adding some honey or sugar as a sweetener and you will have yourself a very pleasant and healthful drink.

DSC02461

This is a fine drink for any time of the day, but my experiments don’t stop with this. I feel that this flavour is capable of so much more than just a tisane, so I will be posting an ‘after five’ drink soon

Goldenrod Tea on Punk Domestics


18 Comments

Chicory Root Soda

DSC02442

I recently wrote about making ginger soda, a simple process of fermenting ginger root until it bubbles (called a bug), mixing it with fruit syrups or juices and allowing it to ferment for a few days until a fizzy, sometimes downright frothy beverage is ready. These old- fashioned drinks have been a god send on these hot, sticky days of summer, but now I am ready for a change of flavours. Since a bug can be made from any edible root and since I prefer to use wild roots from my own backyard, I decided to make use of some of the vast quantity of chicory blooming not far from my kitchen window.

DSC02377

Common chicory (cychorium intybus) is native to Europe but now naturalized in North America and Asia. It is a woody plant with blue flowers and cultivated for its leaves, buds, flowers and roots. At this time of year the pale blue flowers are visible along roadsides and in fields in this area. All parts are bitter tasting, although the flowers and leaves are popular in salads. Sometimes the leaves are boiled first to remove some of the bitterness and then added to cooked dishes.

The root is the most commonly used part of the plant, usually roasted and ground to be used as a coffee substitute, caffeine free and less expensive than coffee. It is also used as a food additive in all sorts of things because of its inulin content.

A word of caution: if you are allergic to ragweed pollen or any related plants, you might have a similar allergic reaction to this one. On the plus side, it does contain antioxidants, inulin and it is considered to provide functional help for the liver.

DSC02348

To prepare the bug, I followed the same procedure as for my ginger bug. Beginning with about 1 cup of water, I added 2 Tbsp of chopped root and 2 Tbsp sugar. Cover it loosely to prevent any contamination. Each day I added 1 tsp each of root and sugar until it became bubbly. This took about five days.

DSC02421

At this time, you can put a lid on it and refrigerate for a few days until ready to use. Once you use some of the liquid, replace the liquid with water and continue to feed more root and sugar a tsp a day.

At this point, it has a pleasantly bitter taste which I thought very much like tonic water.

For the first drink, I used the juice of one lime, 6 oz of water and enough honey to sweeten plus a bit more, since some of the sugar gets used up in the fermentation process. I then added 2 oz of bug, closed the flip lid to seal well and left it for five days.

The second drink was made with elderflower cordial I had stored in the freezer – the same quantities of drink and bug and the same amount of time.

The lime drink was quite dry and had a distinct bubbliness, much like a kvass.

DSC02446

The elderflower was much sweeter and very frothy.

DSC02443

It takes some practice to get the right amount of sweetness and fizz according to your taste, but I have not produced an inferior drink in any so far and they have all been far superior to any commercial soft drink. You can experiment also with any fruit flavours you like. The chicory adds a slightly bitter note which I like, but the flavour is neutral enough it does not overpower whatever flavour you are using.

To be safe, open the bottles very slowly and somewhere you can afford to have a little splllage just in case

Chicory Root Soda on Punk Domestics


13 Comments

Cured Duck Egg Yolks Sweet or Savoury

I have been wanting to cure some duck eggs but had a long wait. Duck eggs are not commonly available in this area except when the ducks feel like laying. Finally it is the season, and I acquired a nice pile of them from a dear neighbour who owns some lovely Muscovy ducks. muscovy ducks

Any kind of eggs can be cured, but either goose or duck have a much bigger yolk ratio so they are better suited for this purpose. It is worth noting that this larger yolk is the reason for the bonus nutritional value of duck eggs – more micro nutrients, more protein and omega-3s. Here is a duck’s egg next to a chicken’s egg. Not difficult to tell which is which. DSC02248

Of course, duck eggs can be prepared the same as chicken eggs, and we have been enjoying them in many ways, not least in baking. Curing the yolks (the whites got used in blueberry buckwheat pancakes) makes a great cheese substitute. They also absorb any flavour they are cured in, so you can use your imagination and available ingredients to this end. I used spruce salt. You will need about 1/3 cup of coarse salt for each yolk. Just make sure there is enough to cover the bottom, sides and top of the yolks. Put half the salt in a suitably sized dish, gently place the egg yolk on the salt and cover with the rest of the salt. Place in the refrigerator for two days. DSC02249 DSC02251

Remove the yolk gently from the salt, brushing off any excess. Place the yolk on some cheesecloth, pull the cloth together at the top and tie with a string. Hang in a cool, dark place for another five days. At this point, the yolk should feel firm, but not hard, when squeezed gently. Grate it and use it as a garnish for salads, soups or pasta. I was inspired to make a sweet version by Forager Chef who in his post on curing eggs in truffle salt suggested sugar should also work. The method is the same, except you use sugar instead of salt, and again a flavour added to the curing process. I used lavender. I also followed his method and timing for curing.

DSC02252

DSC02269At the end of the curing time, the yolks were equally firm and had the same texture, so I concluded the sugar method worked as well as the common salt method. I will be posting recipes using both eggs, so stay tuned

Cured Duck Egg Yolks Sweet or Sour on Punk Domestics


24 Comments

Lemon Balm and Mint Sun Tea

DSC02262

June is a super busy month for all of us who garden and/or forage. I am in the midst of several ‘projects’ in the kitchen and the garden, but not wanting to miss Fiesta Friday #74, I chose to take a break and make something very simple, and yet an appropriate treat for anyone who is exposed to the heat, sun and insects which are all part of the great outdoors experience.

DSC02268

Moving this plant away from my flowerbeds is just one of my projects.

Sun tea is a method of making ice tea involving mixing the tea and cold water and setting it in the sun for a few hours to infuse. I’d never made it before, as I worried a little about the effect the sun and heat would have on it and any bacterial growth. However, as I wanted to make a lemon balm tea, I figured this was the only way to do it without destroying much of the fragile flavour of the leaves.

To play it safe, I considered a few factors.

First, very clean water. Ours is well water which is filtered through a reverse osmosis system, so all good there.

Second, adding mint, which has anti-bacterial properties, might help. To be honest, I have no idea how much or in what form this is effective, but I felt somewhat reassured. And mint in any tisane is good.

Third, I used a little unpasteurized honey, another anti-bacterial ingredient as well as providing a little sweetness.

And finally, I decided to leave it in the sun no more than five hours, which worked out fine because that’s as much sun as we get anyway.

At any rate, I really find it hard to believe a sun tea can be all that risky. The more I thought about it, the more confident I felt.

To make the tea, I filled a 500 ml bottle with a handful of lemon balm leaves and a few sprigs of mint. I dissolved a Tbsp of honey into half a cup of warm water, let it cool, poured it into the jar and filled the jar with tap water. Then into a sunny spot it went and sat there for five hours.

DSC02254

Five hours in the sun

I cooled it in the fridge and then served with lots of ice.

DSC02260

A super refreshing treat after a morning working in the garden

This made two full 8 oz. glasses. I wished I had made a lot more, but the ingredients are there for the taking and the method is ridiculously simple, so there will be a steady supply of it from now on.

Thanks to our hostess Angie @ The Novice Gardener and to her two co-hosts, Loretta @ Safari of the Mind and Caroline @ Caroline’s Cooking who make this virtual party possible. Don’t be shy about dropping by and sampling the fabulous fare. Everyone is welcome!


24 Comments

Quiche in Wild Grape Leaf Shells

DSC02180

I hope I’m wrong, but I suspect there won’t be many wild grapes along the grapevine this year thanks probably to a frost in late May. On the bright side, the leaves are doing fine and at their best for picking now and for the next couple of weeks.

As I have described in past posts at this time of year, the leaves can be preserved easily by freezing after blanching lightly. For a change I decided to use fresh leaves for this recipe, but frozen or preserved in brine, which is how they are usually sold in markets, would work just as well.

DSC02181

So for Fiesta Friday #72 I wanted to share some of my delectable harvest in the form of a shell for quiche. The custard is a very simple cream, egg and vegetable mixture. You can choose from any type of seasonal vegetable, but I decided to roast the vegetable first. If you have milkweed flowers available, they make a perfect pairing with the flavour of grape leaves, and can usually be harvested in roughly the same place at the same time. However, asparagus would be a fine alternative, and if you live in a part of the world where neither is available, any vegetable will do. But if you are picking milkweed, please bear in mind – given that most milkweed plants have six flowers, you should leave at least three on any given plant so that it will bloom and feed the pollinators, notably monarch butterflies. They should be picked before they open, while they are still green or just beginning to develop a rosy hue.

DSC02179

To make these quiches which I baked in muffin tins, first snip off any stem from the base, then brush the bottom side – the side where you can see the veins – with olive oil. Place them in the pans, bottom side up and slightly overlapping. In muffin tins I used two large leaves or three small ones.

Brush the vegetables with oil and roast until tender. For the custard, mix thoroughly 2 eggs, 1/2 cup milk, 1/2 cup cream, 1/4 cup grated cheese (I used feta). Stir in about 1/2 cup roasted vegetables chopped.

Fill the leaves with the mixture and bake for about 30 minutes at 350 degrees F.

DSC02186

The leaf ‘pastry’ will be brown and crispy. The flavour of the grape leaf is what makes these little quiches so special.

Related Posts:

Devilled Eggs with Milkweed Flowers;  Milkweed Bud Fetuccine;  Milkweed Flowers and Lambsquarters Soup;

Grape Leaves with Roasted Vegetables;  Pickerel in Grape Leaves with Mushroom Za’atar Sauce;  Grape Leaf. Herb and Yogurt Pie;  Vegetarian Dolmas;  Dolmas with Meat.


19 Comments

Stinging Nettle Ravioli with Sage and Black Garlic Butter

DSC02178

When I first figure out how to use a wild edible from the garden, I like to keep it simple to see how the particular ingredient tastes and feels. I have done enough with stinging nettles that this time I wanted to make something a little more complex – and find a way to use up my prolific patch before it all goes to seed. Stinging nettle tastes very much like spinach, and loses its sting once cooked. It can be used in any recipe calling for cooked spinach, and vice versa.

DSC00635

I’ve made plenty of pasta dishes before, but never ravioli, so that seemed a good place to start. I also wanted to make a sauce to serve with it, one which is not so substantial that it would take over the dish, but with enough flavour to jazz it up. Enter black garlic – an ingredient I have been wanting to make myself but not sure that with the risk it involves it would be worth using the amount of electricity required. I did pick up a package of black garlic when in Spain, so this seemed a good time to try it out. Mixed with sage, butter and a little lemon sounded like a plan. Some might like a little grated parmesan on the finished product, but hardly necessary.

If you are not familiar with black garlic, it is garlic which has been cured over several weeks at a warm temperature, and then aged further. The cloves turn a definite black, are soft and gooey in texture, and have a wonderful smokey, sweet flavour which works in just about any dish calling for garlic. These came in a box of two heads with the papery skin all in tact. It is expensive though, and if you don’t have it, roasted garlic would be a good substitute.

DSC02171

DSC02172

For the pasta

2 cups flour (I used whole wheat)

3 eggs

2 Tbsp cooked, pureed sweet potato (optional)

1 tsp salt

1 tsp olive oil

1 beaten egg

Make a well in the flour salt mixture and pour in the sweet potato, eggs and oil. Gradually mix the dry ingredients into the egg mixture until it is well combined. Wrap it up in a wet cloth or plastic and refrigerate for at least a half hour or up to 24. Bring it back to room temperature before rolling it.

Using about one-fifth of the dough at a time, form it into a rectangle about 1/2 inch thick then roll it out either with a rolling pin or a pasta machine. Either way, roll it several times. I started with the widest setting on the machine, folded the pasta over and passed it through again, repeating this several times. As I worked down to the thinnest setting, I folded the pasta in two each time, aiming for as rectangular a shape as I could get. This repeated rolling makes the pasta stronger and less likely to rip, even when very thin.

DSC02170

Remember to keep the dough you are not using covered so it does not dry out.

Place the rectangle on a board and cut in two. Brush the edges of one sheet with the beaten egg, including around where you expect to cut the ravioli. I brushed all four edges, one line down the centre lengthwise, and then across according to the size I wanted. Bigger is less work!

DSC02168

DSC02169

Fill the centres with a heaping tsp. of filling and place the other sheet on top. Press down around the edges of each piece and cut. Fork the edges to secure. Set on a floured surface and cover with a damp towel while you do the remainder.

For the Filling

1 1/2 cups cooked, chopped stinging nettles

1 Tbsp dried onion flakes

1/2 tsp salt

1/4 tsp nutmeg

1/2 cup crumbled feta cheese

Squeeze any excess water out of the nettles. Mix all the ingredients.

DSC02166

For the Sauce

1/2 cup butter

one handful of fresh sage leaves

3 cloves black garlic, chopped

1/2 tsp salt

a splash of freshly squeezed lemon juice or a lemon zest

Melt the butter in a saucepan. When it starts to foam, add the leaves and garlic. Continue to cook about 3 minutes. Add the salt and lemon.

DSC02173

Cook the ravioli in boiling salted water, about five minutes. Serve with a little of the butter sauce drizzled over it.

DSC02175

The sauce with the sage and black garlic is a winner. I will either have to cure my own, or maybe travel back to Spain for more, depending on which is more cost-effective.

I apologize for my late arrival at Fiesta Friday this week, but hope there are enough party-goers around to give this 3-part recipe a try.


13 Comments

A Forager’s Potpourri

DSC01600

As 2014 draws to a close, I would like to wish all my readers a very happy New Year. On this occasion I am sharing something seasonal to mark the occasion, and something a little different from the usual recipe post. The idea came from one of my favourite DIY blogs I read the other day on how to make your house smell amazing, a sort of stewed potpourri made of winter greens, fruit and spices. I decided to make my own version using mostly fragrant ingredients from my own garden. It seemed sumac, among other things, would be a good addition, as I’ve noticed whenever I dry sumac berries the house smells wonderful.

This is what I used:

a few sprigs of spruce, juniper and cedar

3 or 4 clusters of sumac berries

2 sticks of cinnamon

4 cloves

a few fresh lemon slices

Place all these ingredients in a pot, cover with water, heat and allow to simmer for a few hours.

DSC01603

The aroma is not overwhelming, even from very close, but is a subtle woodsy outdoor smell which really does make the house smell amazing. I intend to repeat this and vary the ingredients a little each time, perhaps with some surviving herbs and berries, but in the meantime, wanted to share this easy, inexpensive potpourri with you all.

DSC01605


Leave a comment

Harvesting the Seeds

Most of the summer’s harvest has already been brought in, with the exception of potatoes, leeks and a few tough greens, so the gardener (me) has a  little more leisure at this time of year. Of course, there is some clean-up required, but that can wait. The forager (also me) still  has plenty on her plate. I won’t even attempt to list all the things I should be out there harvesting, if it ever stops raining long enough. But one activity I have indulged in is harvesting the great crop of seeds I have – the usual garden produce of course, but also some of the weeds, perennials and self seeding flowers. If you want to be ready in the spring to plant your best garden ever, collecting seeds makes a lot of sense. I must have about a million cosmos seeds which I hope to spread through all our fallow fields. Maybe!

DSC01356

It also occurred to me that for people with less space to broadcast millions of seeds, it also makes a lot of sense to select a few seeds to be saved for the spring. They can be planted in pots and set on patios, window sills or wherever you choose. There are some plants which are particularly suited for this purpose, and will give you every bit as much beauty as the store-bought annuals – they can even be planted along with for a little ‘diversity’. They will also provide you with the wherewithal to do a little safe foraging without having to leave the comfort of your home. Foraging is not just for the intrepid.

Some of the best plants for potting are herbs – and every kitchen needs a few of those. But beyond that, I would recommend the following, all of which have at least one edible part:

anise hyssop – for its leaves and flowers

DSC01219

red amaranth – for its deep red leaves

DSC01308

milkweed – to attract monarch butterflies, for its flowers and seed pods

DSC00988

flax – for its blue flowers and seeds

DSC01370

perennial arugula – for its peppery leaves and decorative edible flowers

DSC01353

If you have enough of some of these plants, the seeds can also be collected, dried and used in cooking. This can be a tedious job, and one I don’t usually recommend. I have tried the usual method, of spilling them from one plate on to another in a breezy spot, but too many seeds were lost in the process. However, I did lately discover a very easy method for collecting and winnowing flax seeds. It requires quite a few seeds, some time in picking them but after that it is so easy with my, I believe, original method.

DSC01354

This large patch of flax is going to seed gradually. You can see in the photo the little beige seed pods which are ready to be picked. I gathered a few of these.

DSC01358

I put them in a blender and chopped them up as much as possible. If you have ever tried to grind flax seeds in a blender, you will know it has no effect on the seeds. For their pods and whatnot, it is another matter. I just blended until I had a fluffy mass of seed pods.

Then I took them outside where luckily there was a nice breeze, or maybe it was even wind. I put a deep bowl on the ground and poured the fluff through a funnel, held about two feet above the bowl. Unfortunately, I was unable to take a picture of myself doing this, but as the mixture fell through the funnel, a great cloud of seed covering was seen floating off into the atmosphere. After one try, the seeds were pretty clean, but I repeated this two more times and ended up with these seeds.

DSC01359


This method did not work so well with the amaranth seeds I tried. If you know of any easy, practical method of winnowing seeds, please do share.


61 Comments

Coconut Lime Jerusalem Artichoke Chips

DSC01305

I made Jerusalem artichoke (or sunchoke) chips last year, and was so pleased with the result that I had to try it again this year, now that the tubers are ripe for digging up. They should be even sweeter after a little more frost, but if I wait too long, the ground will be too hard and many will go to waste. These vegetables are not usually eaten in large quantities, but a few little crispy chips are really very easy to eat, and unless you overdo it, you should not have any ill effects. Fried snacks should only be eaten in moderation anyway.

If you are not familiar with these, you might see them in some farmers’ markets and good grocery stores at this time of year. They are not really artichokes, but rather of the sunflower family, and have a distinctive artichoke flavour. They grow beautifully in a sunny area, produce year after year with absolutely no care whatsoever, and provide bright yellow flowers in the fall when most other flowers are shutting down. Roasted, boiled or fried, they make a delicious side dish, but I dry most of mine, which makes storing them easy. Once dried and ground into flour, they make a great thickener for sauces and can be added to lots of savoury baked recipes.

DSC01298

I am bringing these chips flavoured with lime and coconut oil to Angie’s 37th Fiesta Friday, which I will be co-hosting with fellow-Canadian and co-host extraordinaire Julianna of Foodie on Board. Feel free to visit Angie’s site, and see what the guests bring this week. If you are still looking for some original recipes for your Canadian Thanksgiving dinner this weekend, I am sure you will find something perfect for the occasion.  Should you wish to bring a dish along to the party, first read the guidelines here.

To make the chips, just follow these steps:

1. Slice the Jerusalem artichokes very thinly, as you would for potato chips. If they are fresh, no need to peel, just give them a good scrub. If the skin has become brown and thicker, then it should be removed.

2. Place in a bowl and pour freshly squeezed lime juice over them so that each slice is covered, and add a little grated lime zest for extra flavour.

3. Place them on a baking tray and put in a barely warm oven until they are no longer soaking wet. They will still feel damp, but most of the juice will have evaporated.

4. Heat the coconut oil, and fry just a few at a time, until they are golden brown. Remove and drain on absorbent paper.

5. Serve while still warm. If they are left at room temperature for a while, they will lose their crispness, in which case just reheat briefly in the oven on a tray until they crisp up again.

DSC01335

The flavour of lime makes these Jerusalem artichoke chips extra delicious, although lemon could also be used. They don’t even really need salt.